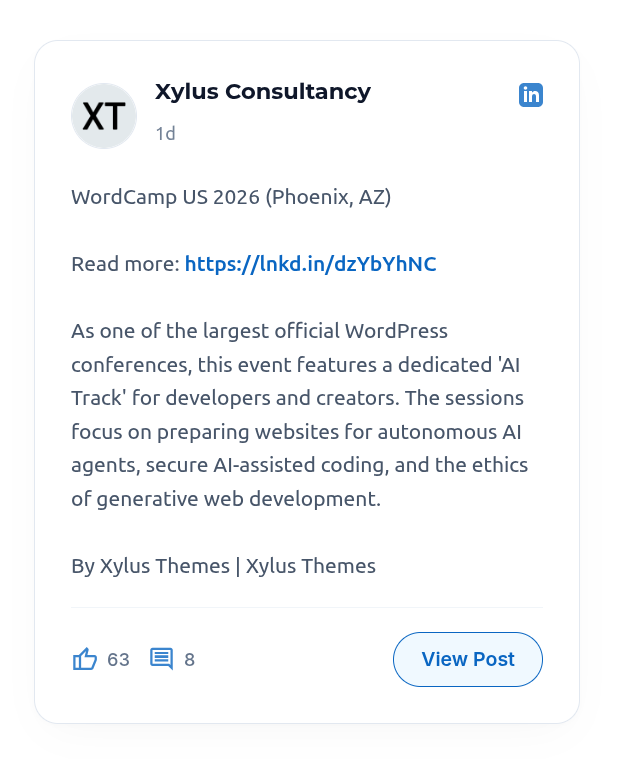
The Live Feed Builder is a powerful and user-friendly tool that allows you to fetch, design, customize, and preview your LinkedIn feed in real-time. Follow this step-by-step guide to display a beautiful LinkedIn feed on your website.
Step 1: Add New Feed
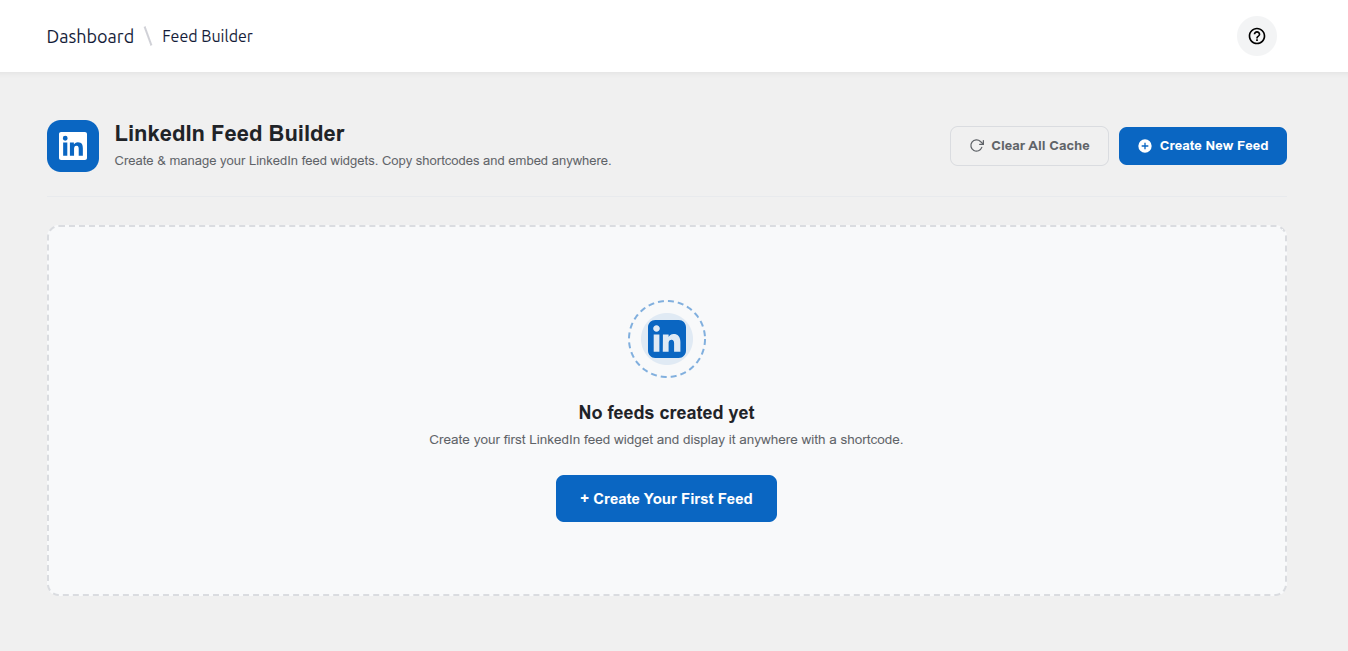
In your WordPress dashboard, navigate to XT Feed for LinkedIn > Feed Builder and click on the Create New Feed button.
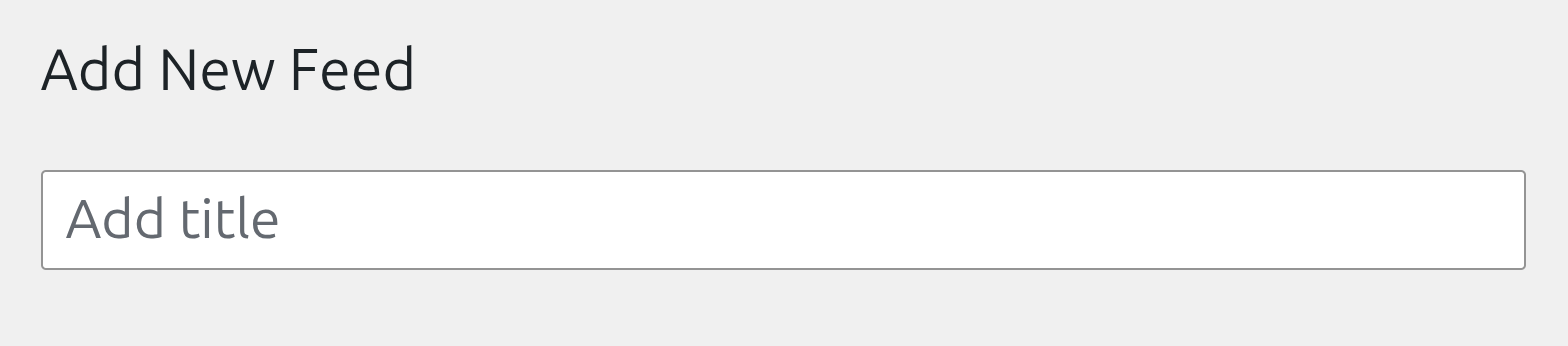
Step 2: Enter Feed Title
Start by giving your feed a descriptive title at the top (e.g., “Main Company Feed”). This title is for your internal reference to easily identify the feed later.
Step 3: Connection & Source
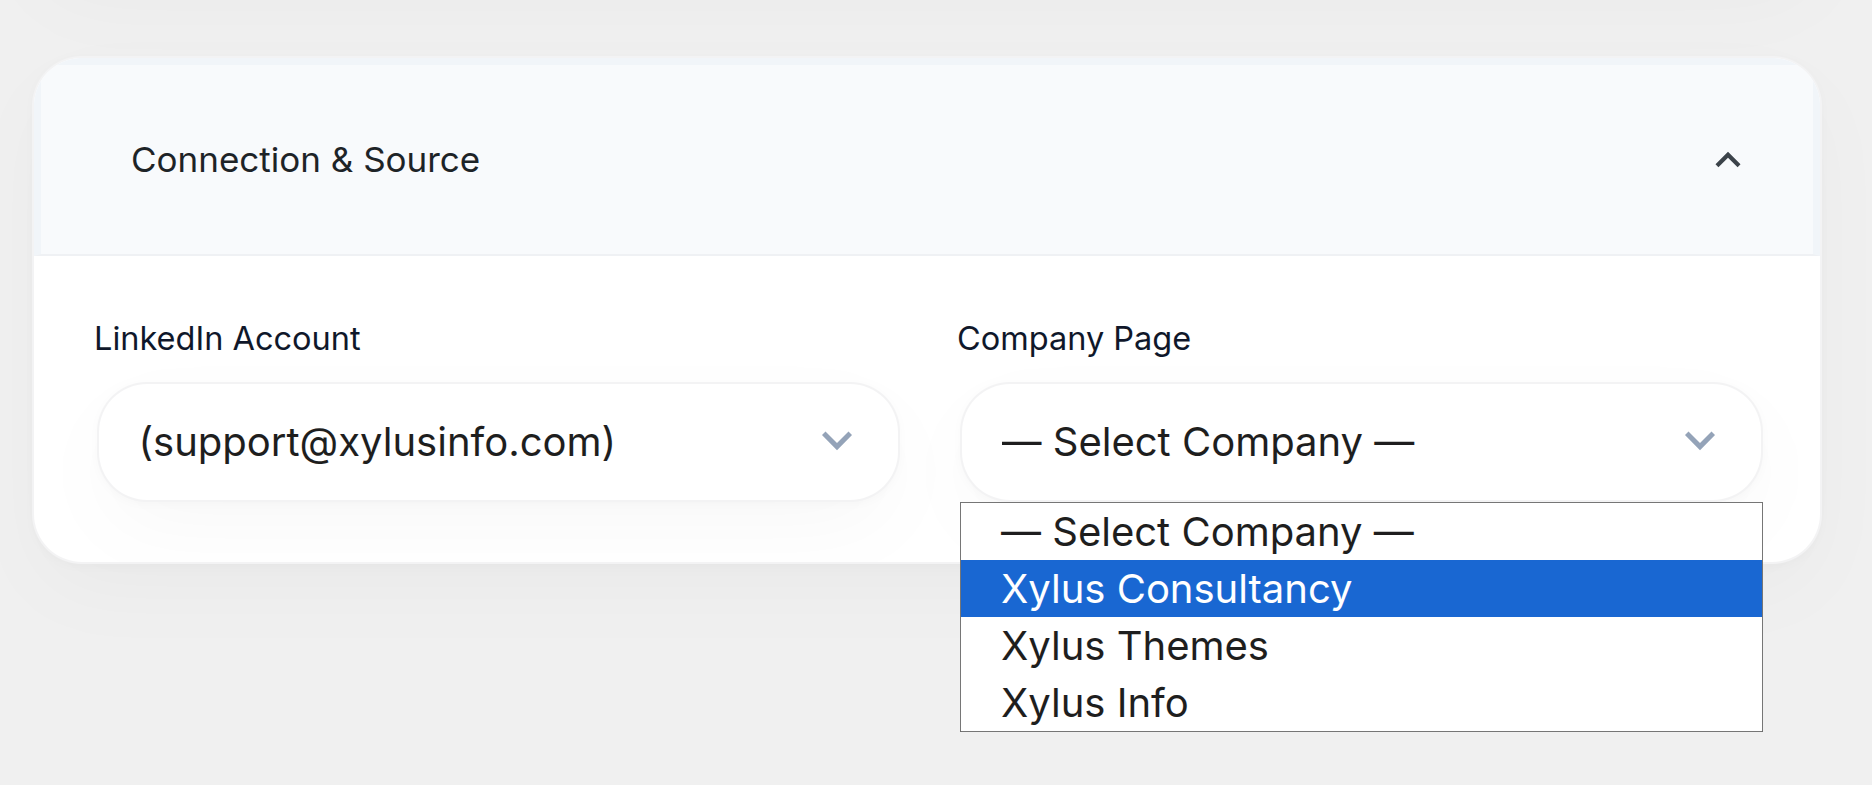
Next, you need to tell the plugin where to fetch the posts from. You will see two main options here:
- LinkedIn Account: Select the personal LinkedIn account you previously connected in the settings.
- Company Page: Choose the specific LinkedIn Company Page associated with your account to display company updates.
Step 4: Layout Design
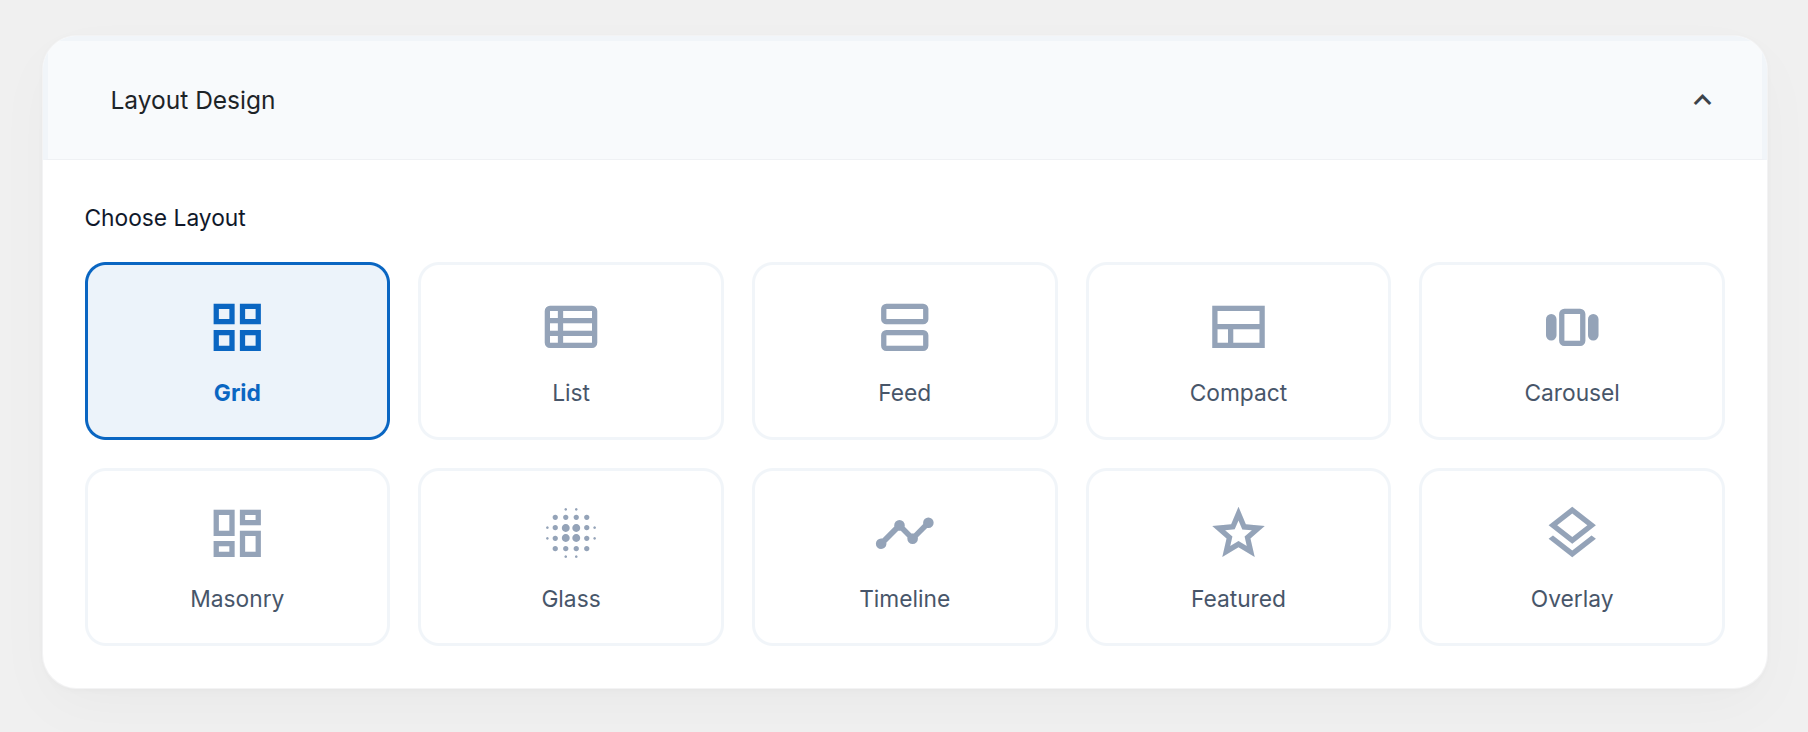
XT Feed for LinkedIn offers 10 stunning layouts to match your website’s design perfectly. Select the one that fits best:
- Grid: Displays your posts in a classic, structured grid format.
- List: A vertical, one-by-one list, just like the native LinkedIn feed.
- Feed: A standard, continuous feed view optimized for scrolling.
- Compact: A condensed, space-saving layout for smaller areas.
- Carousel: An interactive, sliding layout to save vertical space.
- Masonry: An uneven grid that beautifully aligns posts of different heights without gaps.
- Glass: A modern, sleek layout featuring a glassmorphism background effect.
- Timeline: Displays posts across a central vertical line, great for company history.
- Featured: Emphasizes prominent or popular posts to make them stand out.
- Overlay: A visually striking layout focusing on images with elegant text overlays.
Step 5: Post Configuration
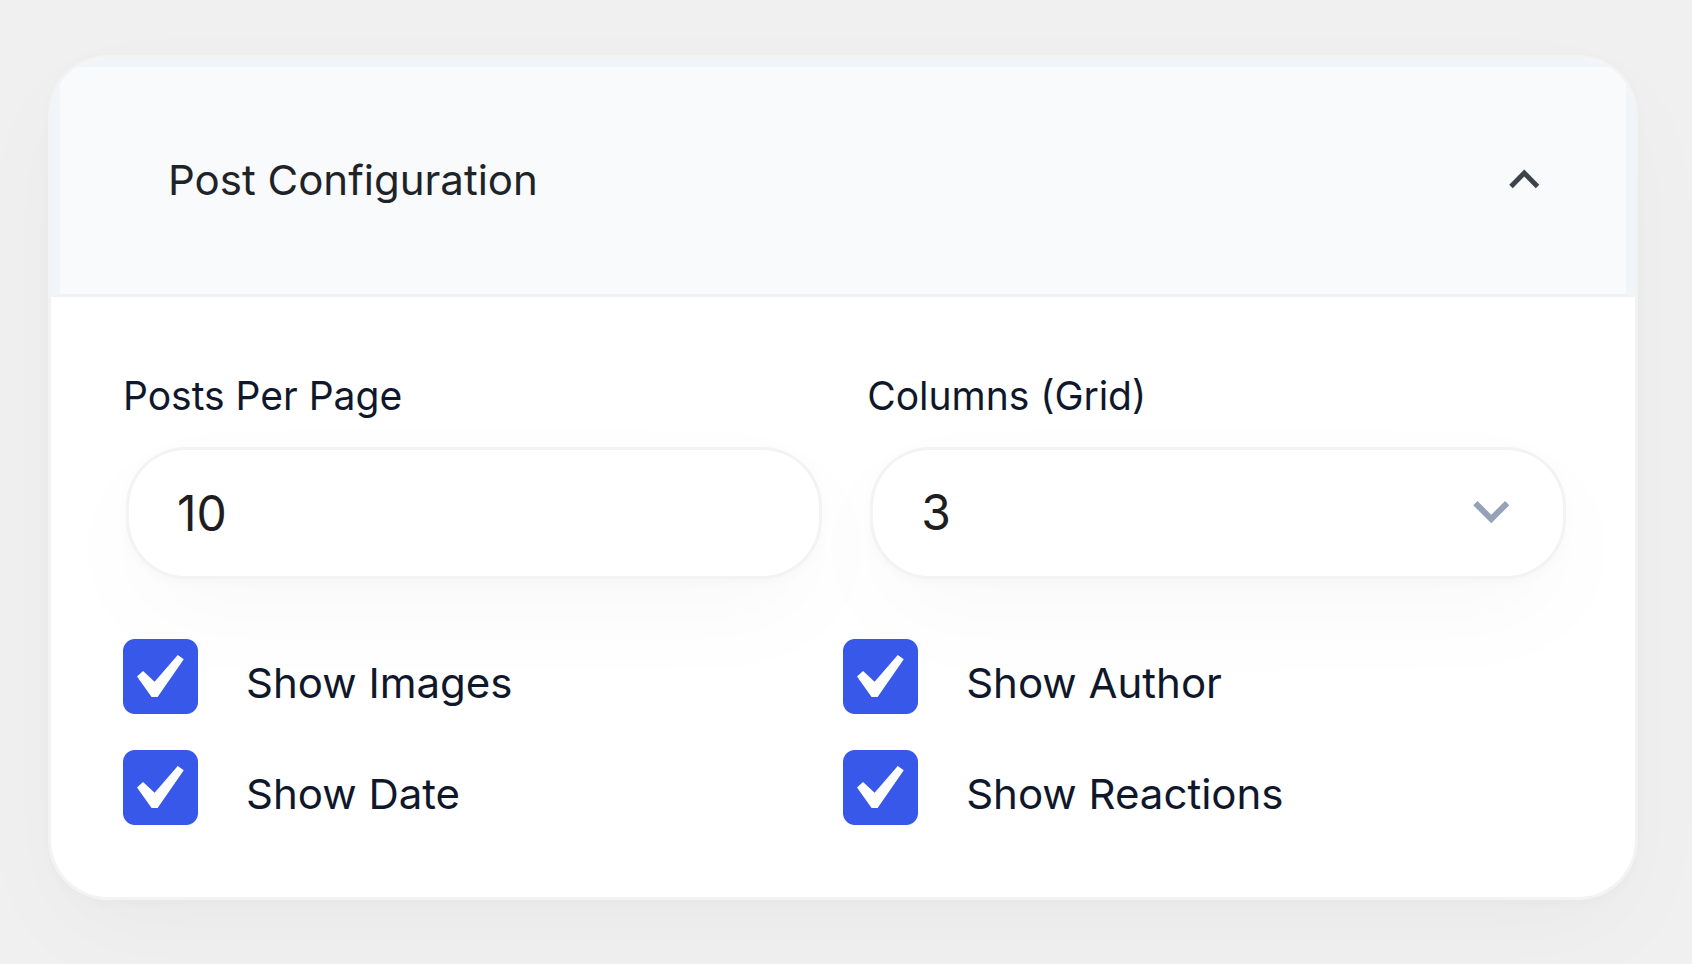
Customize exactly what information is shown inside each post block:
- Posts Per Page: Control how many posts load on the page initially.
- Columns: Define how many columns the posts should be split into.
- Show Image: Toggle to display or hide the post’s main media or image.
- Show Dates: Choose whether to display the time when the post was published.
- Show Author: Display or hide the LinkedIn profile name and picture.
- Show Reactions: Display the number of likes, comments, and other social engagement counts.
Step 6: Advanced Settings
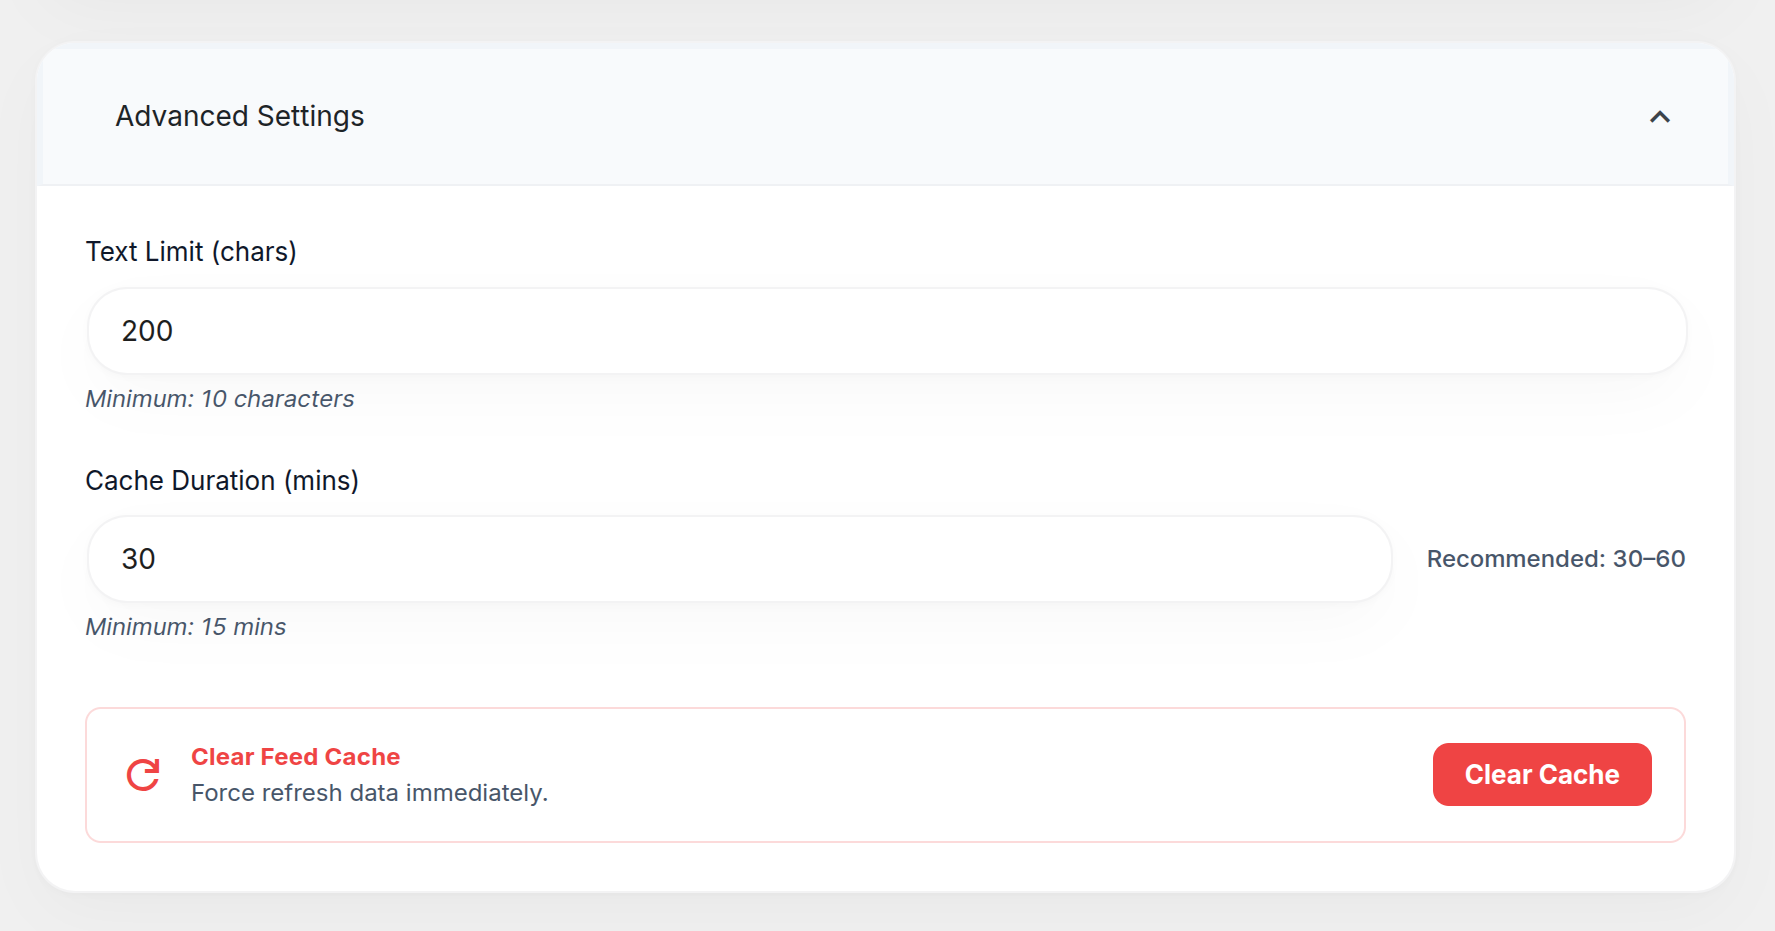
Fine-tune the appearance of your feed to seamlessly integrate with your website:
- Text Limit: Set a maximum character limit for the post description before it gets truncated (Minimum: 10 characters).
- Cache Duration (mins): Control how often the plugin fetches fresh posts from LinkedIn to improve your site’s speed (Minimum: 15 mins).
- Clear Feed Cache: Use this button at the end to immediately clear the stored cache and force the feed to fetch the latest LinkedIn posts right away.
Step 7: Mobile & Desktop Preview
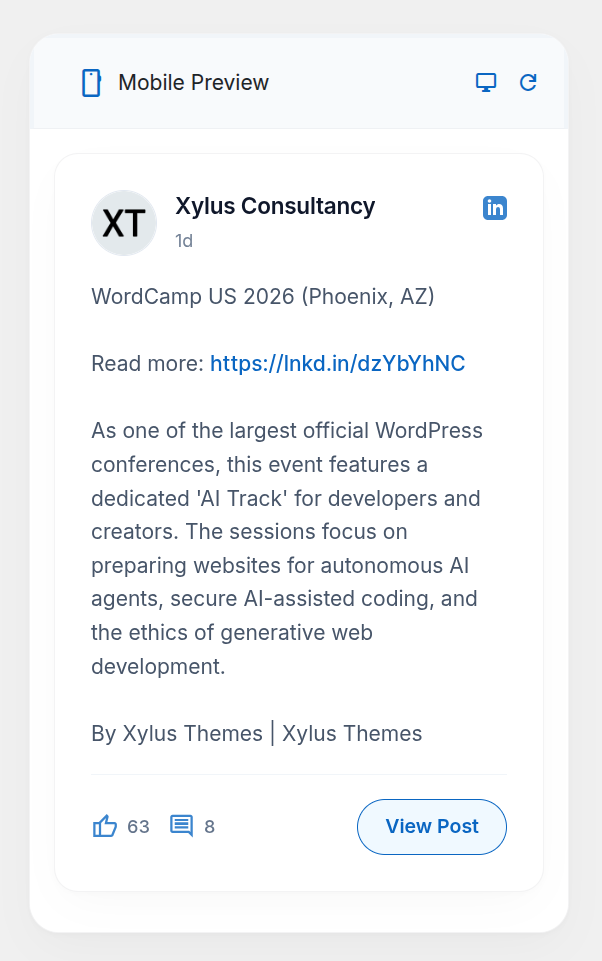
Before you save, use the built-in view toggles at the top of the builder. This allows you to easily switch between the Desktop view and Mobile view, so you can see exactly how your customized feed will look across different devices in real-time!
Step 8: Save & Display with Shortcode
Once you are happy with how everything looks in the preview:
- Click the Save Feed button.
- The system will generate a unique shortcode for this specific feed (e.g.,
[xt_linkedin_feed id="1"]). - Copy this shortcode.
- Navigate to any WordPress Post, Page, or Widget area where you want the feed to appear.
- Paste the shortcode using the Gutenberg Shortcode Block, and publish!