Learn how to use WP Smart Import’s Manage Files screen to manage all uploaded source files, including XML, CSV, and JSON.
To view and manage your uploaded files, navigate to the WordPress admin panel -> WP Smart Import -> Manage Files. You should see the following screen.
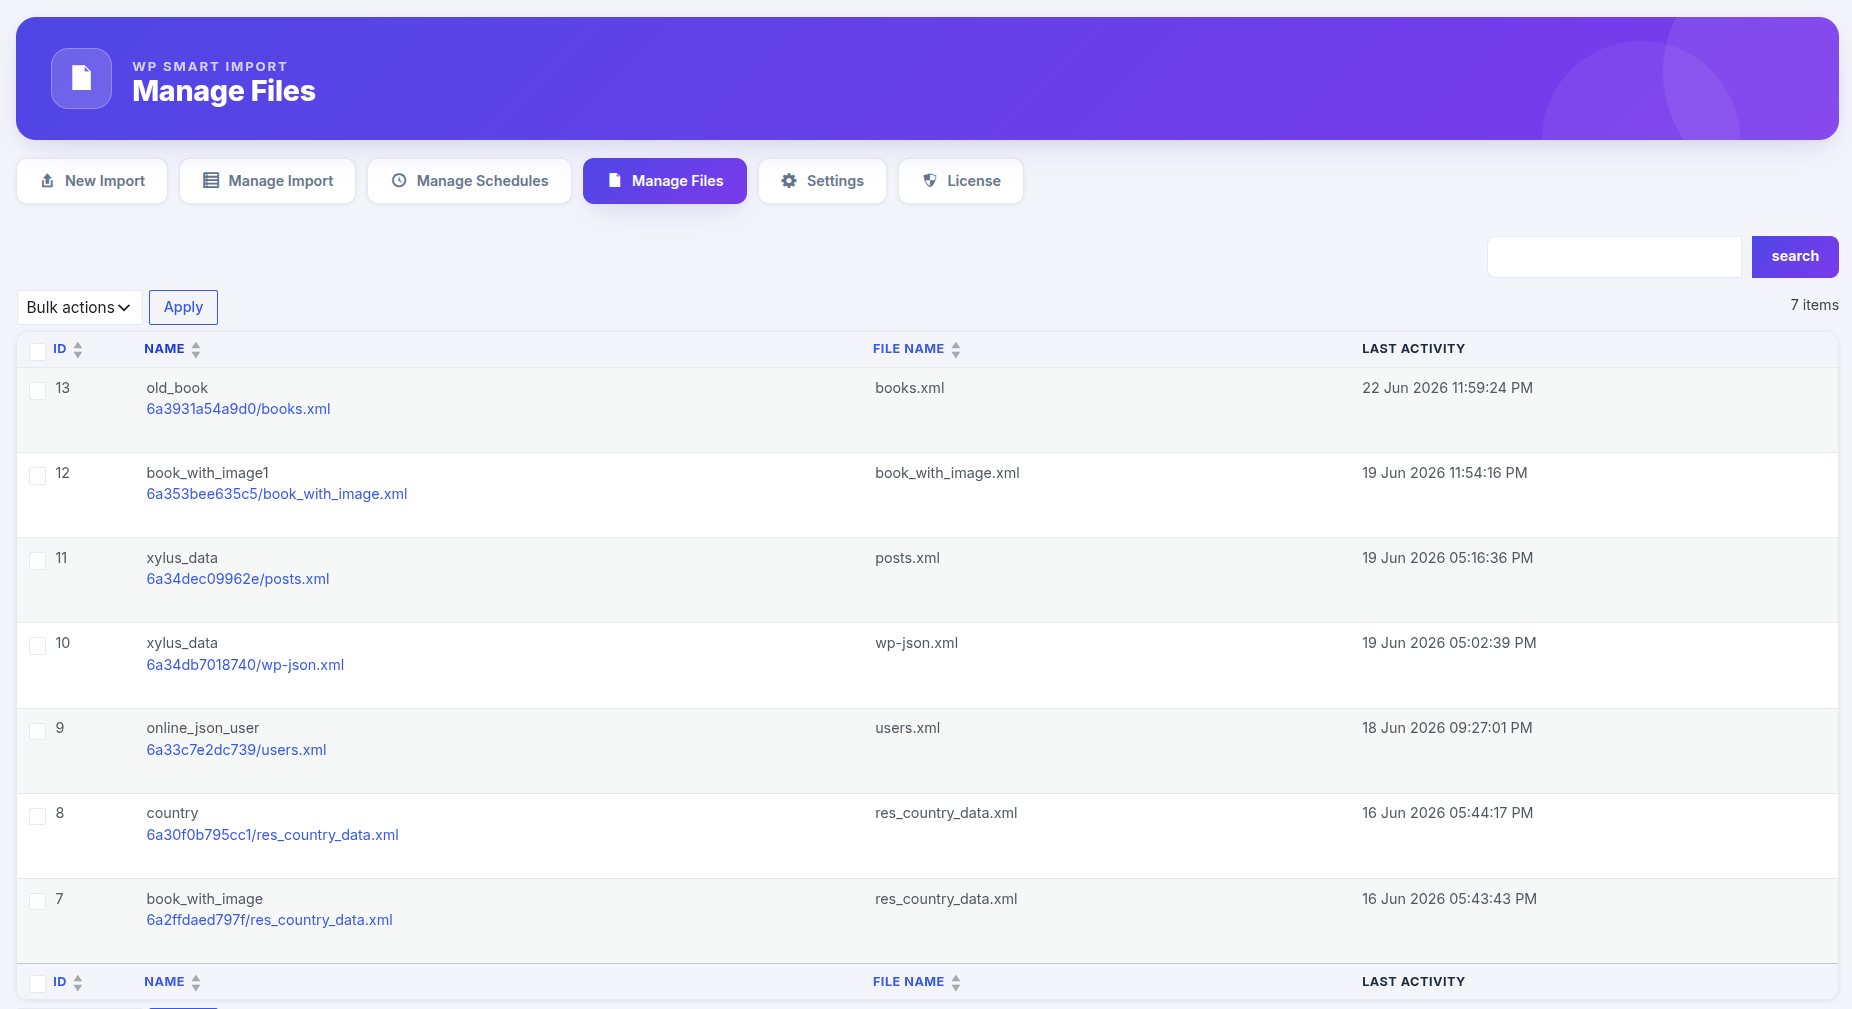
Every time you upload an XML, CSV, or JSON file during a New Import, it is registered in the database and displayed here. The interface is divided into the following columns:
- ID — The database ID of the file record.
- Name — The display name of the file. Under the name, you can click on the file path link to download the file. Hovering over the row reveals the **Delete** action link.
- File Name — The actual physical file name stored on your server (e.g., books.xml).
- Last Activity — The timestamp of when the file was last uploaded, modified, or imported.
Step 1 : Download Uploaded Files
If you need to retrieve a copy of any source file currently stored on your server, simply click the file path download link under the file name. The raw XML, CSV, or JSON file will be downloaded directly to your computer.
Step 2 : Delete Files
To permanently clean up files and save disk space, hover over the file row and click the Delete link. This action will delete the physical file from your server uploads folder and remove its record from the database list table.
Step 3 : Pagination & Bulk Deletion
The list table displays up to **20 files per page** to easily manage high-volume imports. You can also perform bulk deletes by checking multiple file rows, selecting Delete from the Bulk Actions dropdown, and clicking the Apply button.